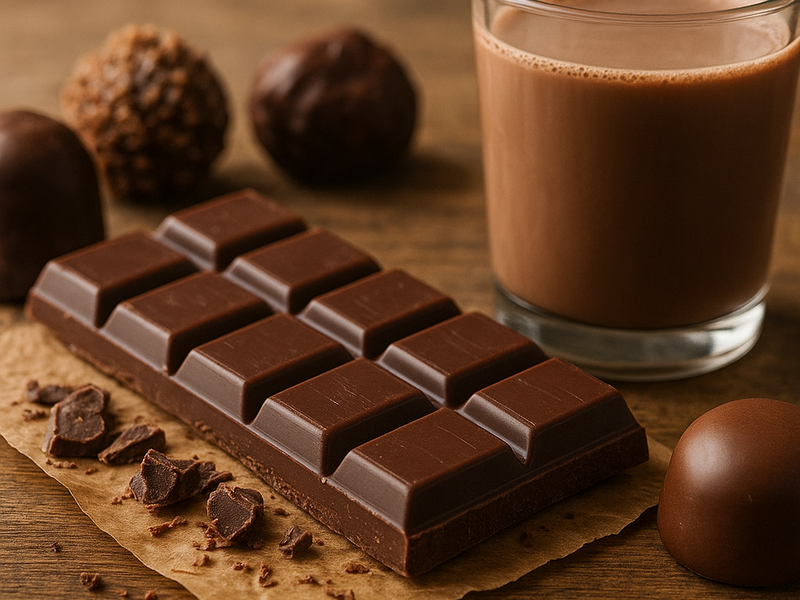
Chocolate making is a hands on pursuit that rewards patience, precision, and a little culinary daring. Whether you are a home cook eager to craft glossy slabs for gifts or a hobbyist who wants to experiment with flavors, the same principles apply: good chocolate starts with quality ingredients, clean equipment, and a calm workspace. The goal is to create a smooth, glossy bar with a satisfying snap, a balance of sweetness and depth, and a finish that lingers with aroma rather than chalkiness. The following guide walks you through practical methods, equipment choices, and reputable sources for products that help you level up your chocolate game.
There are two common paths for making chocolate at home. The first uses couverture chocolate—blocks or chips that already contain cocoa butter and have been tempered in production. The second starts from scratch, using cacao nibs or cacao beans. The first option is the quickest route to professional results, perfect for molded bars, truffles, and coatings. The second route, bean to bar, is a chocolate making project for true enthusiasts who want to influence every step of the flavor and texture, from roasting the beans to conching and refining. Either path can yield delectable results; the choice depends on how deeply you want to dive into the process and how much time you want to invest.
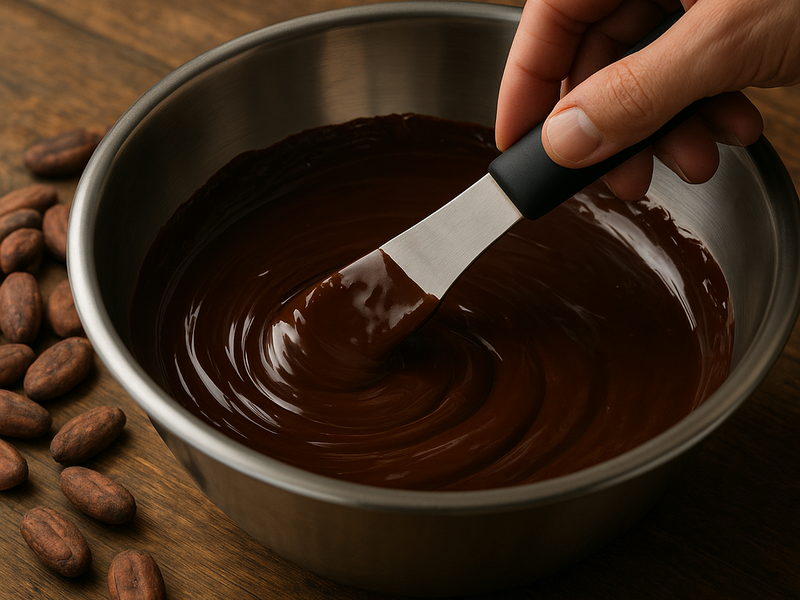
If you choose to work with couverture, begin by melting it gently to avoid scorching. A classic double boiler works well: fill the bottom pot with a little water and set a heatproof bowl above it, ensuring the bowl does not touch the water. Alternatively, you can melt in short bursts in a microwave, stopping to stir every thirty seconds. The aim is to melt evenly until only a few lumps remain, then continue stirring to achieve a smooth, glossy liquid. Once melted, tempering is essential for that characteristic snap and sheen. There are two common tempering methods you can use at home: seeding and tabling. In seeding, you add small pieces of tempered chocolate to the melted chocolate and stir until the mixture cools to the target working temperature. In tabling, you pour melted chocolate onto a cool marble surface and work it with a spatula until it thickens and reaches the correct temperature, then gather it back into a smooth dome. When tempered properly, the chocolate should shine, feel firm to the touch, and snap cleanly when broken.
Temperatures matter. For dark chocolate, aim for a working temperature around the mid eighties Fahrenheit (mid to high twenty Celsius). For milk chocolate, the range is a bit lower, while white chocolate runs a touch cooler still. The exact numbers can vary slightly by brand, so use your thermometer as a guide, not a dictator, and adjust for the feel and snap you observe. A quiet, precise approach yields the best results. Avoid exposing chocolate to moisture at any stage—steam, condensation, or water droplets will cause streaking and weak texture.
Molding and finishing are where the artistry shines. Once the chocolate is tempered, pour it into molds in a steady, unbroken stream to minimize air pockets. Gently tap the mold on the counter to release any trapped air, then let it settle at room temperature before moving to a cooler setting to harden. If you are flavoring, now is the moment to swirl in additions like vanilla, finely ground espresso, a pinch of chili, or toasted nuts, but do so sparingly to avoid unbalancing the chocolate’s structure. When the bars are fully set, invert and pop them out, then store in a cool, dry place away from strong odors. A thin, precise coating and clean edges speak to a practiced technique.