How To Make Paper Flowers
Article
2025-12-11 • 6 min read

How To Make Paper Flowers

Paper flowers have become a versatile decor element for weddings, events, and everyday interiors. They offer the charm of real blossoms without the fragility, and they can be customized to any color, scale, or theme. Whether you want a lush backdrop for a p...

Paper flowers have become a versatile decor element for weddings, events, and everyday interiors. They offer the charm of real blossoms without the fragility, and they can be customized to any color, scale, or theme. Whether you want a lush backdrop for a photo wall, a delicate centerpiece for a table, or a year round bouquet that never wilts, paper flowers are a practical and creative solution. The key is choosing the right material, mastering a few core techniques, and then building the blooms layer by layer.

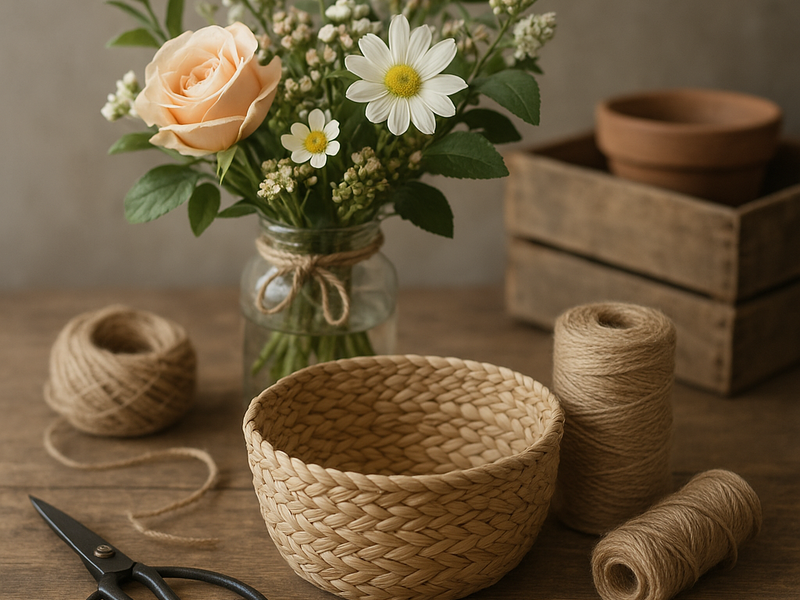
What you need goes beyond a pair of scissors. The material you select largely determines how the finished petals behave. Crepe paper holds a natural stretch and texture that mimics real petals, tissue paper creates airy, delicate blooms, and craft or watercolor-weight papers give you more structural stability for larger pieces. For stems, you’ll typically use floral wire or thin craft wire, optionally wrapped with green floral tape to look more natural. Glue is essential; a hot glue gun speeds construction, while a strong craft glue can provide clean seams for smaller petals. Scissors with sharp points help you trim petal shapes precisely, and a thin sharpening tool like a bone folder or the edge of a pair of scissors can help you curl the edges to create a more lifelike curve.

Start by thinking in terms of petals as a single unit. A robust paper flower is built from a central core and multiple petal layers arranged around it. Petal templates are incredibly helpful, especially when you’re aiming for consistency across several blooms. If you don’t have templates, you can create simple shapes by tracing teardrop or rounded petals onto your chosen paper and cutting them out. Lightly curling the edges of each petal with a curling tool or the edge of a pair of scissors will give the flower a natural sweep. Color shading adds depth—darker hues at the base of the petal and lighter tones toward the edge imitate the way light hits a real bloom.

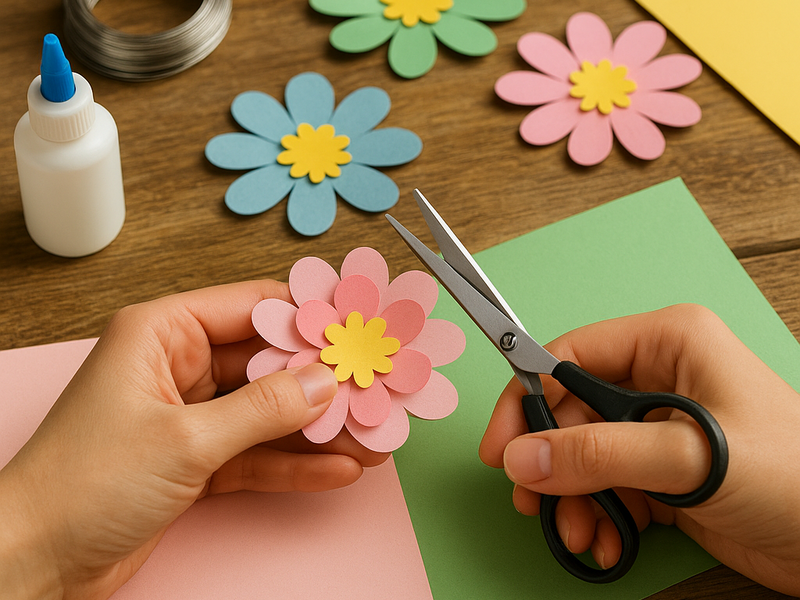
The step-by-step process is straightforward, once you’ve got the hang of shaping. Step one, create a small central core from tightly rolled paper or a cluster of tiny petals formed into a compact bud. Step two, prepare your petal layers in several sizes; the smallest ring sits closest to the core, with increasingly larger petals radiating outward. Step three, attach each petal to the core with short glue dabs, slightly offsetting them so the blooms feel full and organic rather than flat. Step four, when the outer layers are secure, twist the base of the flower onto a wire stem or a prepared wire stem and give a gentle bend to emulate a natural stem curve. Step five, if you’re making blossoms for a bouquet, group several blooms together with a touch of floral tape and arrange them in a vase or wrap them into a hand-tied bouquet. Finally, step back and adjust the petals to balance light and shadow across the arrangement, then seal with a light spray of stiffener if you want extra hold and a papery finish.

How To Make Paper Flowers

There are several variations you can explore to expand your skills. If you want extra durability, use double-ply craft paper or a stiffer stock like watercolor paper for large blooms. For a more airy look, tissue paper layers with a light crimp or accordion-fold technique provide delicate volume. For a glossy, modern effect, pair matte petals with a glossy center or add metallic accents to the edges. Testing different color gradients and petal counts will help you discover the style you love most. If you’re making flowers for a wedding or a long-lasting display, consider making stems in clusters and adding greenery or baby’s breath made from paper as a backdrop.

If you’re new to paper flowers or you want to expand beyond basics, many suppliers offer ready-made blooms, DIY kits, and tutorials that can save time or elevate your results. Top companies and websites you might explore include Afloral, Paper Source, Michaels, Joann, and Etsy shops specializing in paper florals. Afloral specializes in both ready-made paper flowers and DIY kits that come with petal templates, wires, and step-by-step instructions, which is great for beginners who want a polished look without starting from scratch. Paper Source offers a curated selection of papers and accessories, plus classes and project ideas that emphasize color theory and composition in addition to the mechanics of assembly. Michaels and Joann carry a wide range of craft supplies and frequently host in-store workshops; their stores are convenient for beginners who appreciate immediate access to tools, glue, and inexpensive paper options, especially when coupons are in play. Etsy shines if you’re seeking unique styles, color palettes, or customizable kits from individual designers. You’ll find everything from petite boutonnières to large, dramatic installations, often with options for personalized colors to match a wedding palette.

When choosing a supplier, consider your project timeline, budget, and skill level. If you want an exact color match for a wedding palette, you may prefer a supplier that offers custom color options or printable templates; for a fast event backdrop, a kit with pre-cut petals and clear instructions will be your friend. If you’re aiming for a very large installation, a commercial supplier that provides bulk options and guidance for scaling might be worthwhile. For ongoing hobbyists, a mix of “shop-bought” elements (like pre-cut petals and centers) with DIY accents can yield a balance of speed and creativity.

Beyond buying, there are abundant free or paid resources to help you improve. YouTube channels, craft blogs, and Pinterest boards can introduce new petal shapes, fading techniques, and assembly methods. Many suppliers also publish printable templates, color charts, and care tips that keep your blooms looking fresh in photographs and installations. If you’re decorating a venue, plan your blooms in advance with a rough floor plan showing where larger pieces will go and how they’ll interact with real foliage, lighting, and fabric textures. Dim lighting can wash out pale petals, while bright, direct light can highlight textures—so test different lighting scenarios during your design process.

Finally, a note on care and longevity. Paper flowers don’t require water, which is a big advantage for event decor. Keep them away from moisture and humidity, and store them flat or carefully wrapped when not on display to prevent creasing. For outdoor use, consider slight stiffening and weatherproofing; a light spray of clear acrylic can protect against humidity in a pinch, but test on a small area first to avoid cracking or discoloration. With a little planning, patience, and a handful of petals, you can craft paper flowers that look exquisitely lifelike and endure long after the real blooms have faded.

← Back to all articles