How To Make Stickers
Article
2025-12-10 • 6 min read

How To Make Stickers

Stickers are more than decor; they are a portable form of expression and branding that can turn a simple idea into something people want to showcase. Making your own stickers blends art, craft, and a touch of practical know how. Whether you are designing fo...

Stickers are more than decor; they are a portable form of expression and branding that can turn a simple idea into something people want to showcase. Making your own stickers blends art, craft, and a touch of practical know how. Whether you are designing for a personal sticker pack, a small business, or a school project, the process blends design software, print options, and precise cutting. The result can range from glossy vinyl decals that survive weather to matte paper sheets perfect for planning and journaling. Below you will find an overview of how to make stickers, practical steps to get started, and a look at where you can buy or outsource this work if you prefer not to DIY every step.

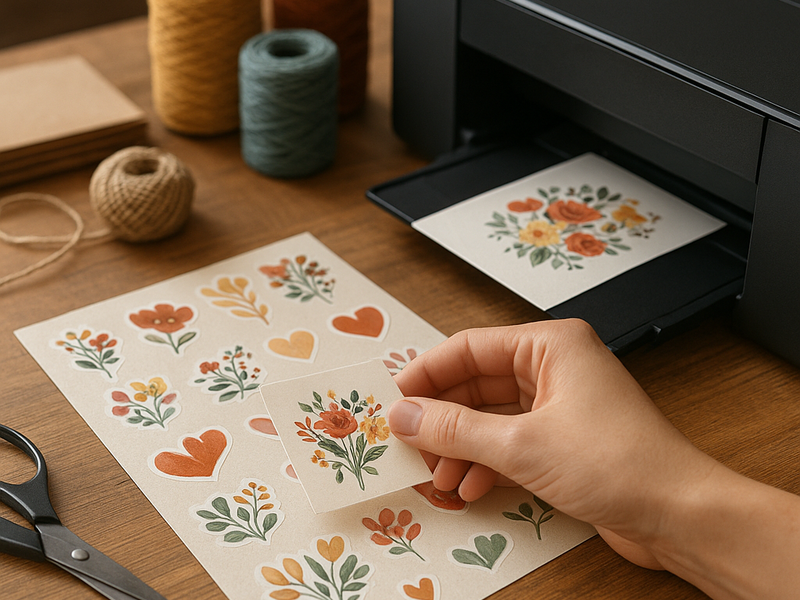
First consider the two broad families of stickers: vinyl versus sticker paper. Vinyl stock is designed for durability and outdoor life; it often requires a clear or opaque laminate layer to resist UV light and moisture. Sticker paper is cheaper and great for indoor use, journaling, or quick prototypes. Within each family you have finishes such as matte, gloss, and transparent. There are two common cutting methods: die cut and kiss cut. Die cut stickers are cut all the way through both the sticker and the backing, producing individual shapes. Kiss cut cuts only through the top vinyl layer, leaving a sheet of stickers on the backing—handy for sticker sheets and easy production. Your choice depends on the project scope, budget, and how users will peel them.

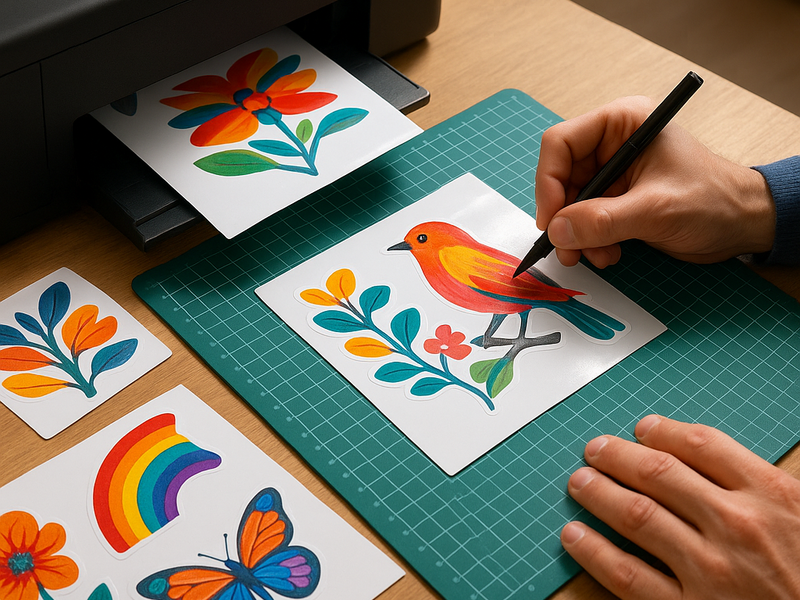
Tools and materials set the tone for quality. If you are starting from scratch, you will want printable vinyl or sticker paper, a printer that can handle the stock, a cutting method, and a sealing option if you want longevity. For DIY finishing, lamination is a reliable step. Cold lamination sheets or a clear laminate pouch can add scratch and moisture resistance. If you want a more polished professional look, you might invest in a cutting machine such as a vinyl craft plotter or a die cutting machine. These tools let you achieve consistent shapes and complex cuts that would be tedious by hand.

Designing your sticker art is the most creative phase. Use vector-friendly software such as Illustrator or Inkscape; raster programs like Photoshop or Affinity Photo are fine for bitmap artwork if you keep the resolution high enough. A few design tips help the result look sharp when printed and cut. Start with the correct color mode for printing, usually CMYK. Leave a bleed area around the edges to ensure no white gaps after cutting. Outline or convert text to paths if you’re sending files to a printer to avoid font substitutions. Build in safe margins so nothing important sits too close to the edge. If you plan to use white on transparent vinyl, ensure your artwork includes the white area or background in the file design.

How To Make Stickers

Printing and cutting are where the process transitions from art to product. Print printer settings should be tuned for the type of stock you use. Inkjet printers are popular for DIY sticker projects because they work well with printable vinyl and sticker paper. Laser printers can also be used, especially with specialty stock designed for laser printing. Print a test page first to check color accuracy and alignment. After printing, allow inks to cure fully before cutting to prevent smudging. For cutting, if you don’t own a cutting machine, you can cut by hand with a sharp craft knife and a steel ruler for straight edges, or use scissors for simple shapes. For larger runs or more complex shapes, a cutting machine provides consistency and speed.

Lamination and finishing bring added durability and a professional touch. A gloss laminate yields a brighter, more vibrant look, while a matte finish softens the glare and feels more premium. Clear overlays can protect designs with minimal impact on color. If you intend to sell or distribute stickers outdoors, consider weatherproof laminates and UV-resistant inks. Finally, separate and package the sheets or individual stickers. If you are making a sticker sheet, you can keep multiple designs on one backing sheet with a single die-cut or kiss-cut outline for easy peeling.

If you are exploring commercial options rather than DIY, several well known providers offer high quality custom stickers with varying minimum orders, finishes, and shapes. Sticker Mule is widely recognized for crisp printing, reliable color reproduction, and quick turnaround; it caters to individuals and small businesses wanting reliable, high quality die-cut and kiss-cut stickers with various finishes. Vistaprint provides accessible options for small businesses with bulk pricing and user friendly design tools on an established platform, making it easy to create brand stickers that align with existing marketing materials. Moo is favored for premium presentation and rounded corner shapes, delivering a refined appearance that might justify a higher price point for brands seeking a polished look. Zazzle and Redbubble offer large marketplaces where artists can upload designs and have them produced on demand, which is ideal if you want to reach broader audiences without managing inventory. For traditional label and sticker sheet needs, Avery remains a staple for home and office use with reliable printable options and easy integration with common design software. If you need flexible shapes or durable outdoor stickers, StickerYou and similar services are worth comparing for their material variety and customization options. When choosing a supplier, consider minimum order quantities, finish options, color accuracy, proofing processes, shipping times, and whether you want to order a few samples before committing to a larger run.

Here is a practical path to get started, whether you DIY or choose a service. For DIY enthusiasts, start with a simple design in a vector tool, export as a print ready PDF or PNG with options for bleed, choose printable vinyl or sticker paper, test print, and cut using a craft knife or cutting machine. For beginners, a small test run of a few dozen stickers helps you refine color, edge sharpness, and adhesion. If you plan to commercialize your designs, consider setting up a small line of stickers that reflects your brand identity, from logo placement to a consistent color palette and a signature finishing style. For those who prefer outsourcing, prepare your artwork with clean vector outlines, a bleed margin, and a transparent background if required. Compare suppliers on price per sticker, the minimum order, and the range of stock options. It is often advisable to request proofs before a full run to ensure your colors translate well from screen to print.

Ultimately, sticker making is about translating a concept into a tangible artifact people want to display. With the right materials, careful design, and a clear plan for finishing, you can produce stickers that look as good on a phone as they do on a storefront window. Whether you build your own toolkit and print in a home studio or partner with a seasoned print service, the world of stickers offers accessible creativity and practical value for personal projects and business branding alike.

← Back to all articles