Sushi making at home is a practice that rewards patience and attention to texture, color, and balance. It isn’t about perfection on the first try; it’s about steady technique, fresh ingredients, and the joy of sharing something you prepared with care. If you’re new, start simple with a few rolls and gradually build a small repertoire of fillings and methods. The good news is that you don’t need a fancy kitchen to begin. With a few essential ingredients and the right tools, you can produce beautifully balanced maki, nigiri, or a playful uramaki that rivals what you might find in a neighborhood spot.
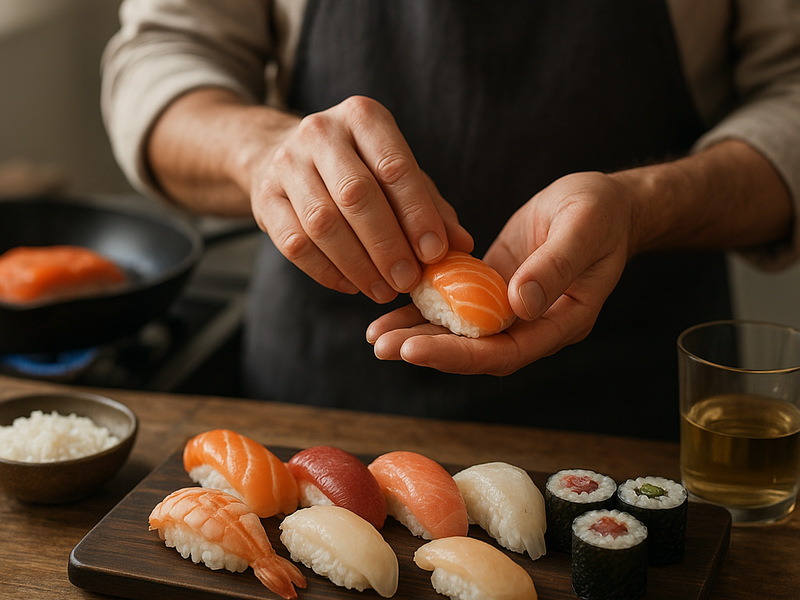
The core elements are straightforward: sushi rice, nori sheets, a few fillings, and a bamboo mat to roll. Sushi rice is a short grain rice that becomes glossy and slightly sticky when seasoned. The vinegar mixture—made from rice vinegar, a touch of sugar, and salt—gives it the characteristic tang and gloss. Nori sheets provide the seaweed envelope for the roll and add a subtle toasty flavor. Fillings can range from crisp cucumber and avocado to delicate crab meat, tuna, or salmon. For a vegetarian version, include colorful peppers, pickled radish, carrot, or asparagus. You’ll also want a sharp knife, a wooden or plastic rice paddle, a small bowl of water with a pinch of salt, and a clean cutting board to slice rolls neatly. If you prefer nigiri, you’ll need firm fish slices and a dab of wasabi to accent every bite.
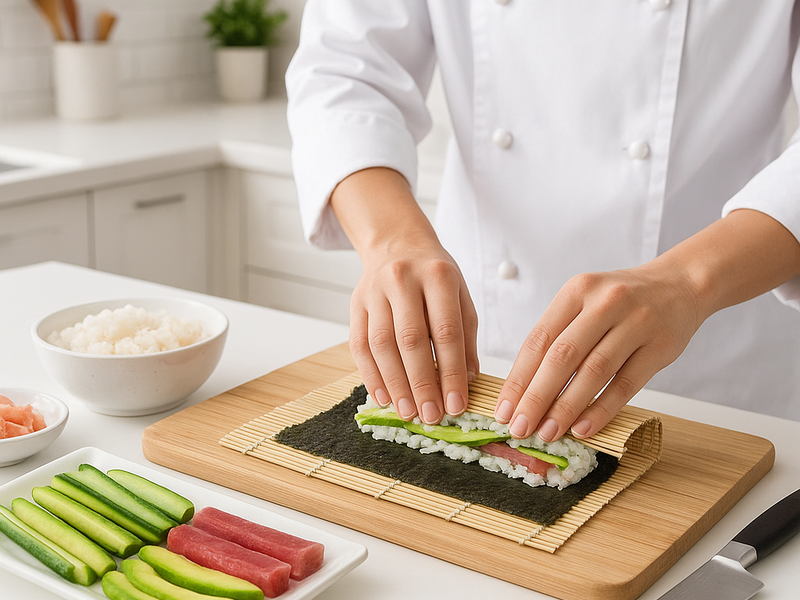
The cooking and assembly process is approachable, but accuracy matters. Rinse the sushi rice until the water runs clear, then cook it with the right proportion of water so the grains stay tender but not mushy. Once cooked, gently fold in the seasoned vinegar while fanning the rice to cool it quickly, which helps keep it glossy and separate rather than clumping. Meanwhile, prepare your fillings, keeping them crisp and cool. When you’re ready to roll, lay a sheet of nori on the bamboo mat, shiny side down, and spread a thin, even layer of rice across two thirds of the sheet. This is where technique matters: too much rice will overwhelm the fillings, and too little will make slicing awkward. Place fillings in a tight line along the center, then roll away from you with steady pressure, using the mat to press the seam closed. For uramaki, flip the sheet so the rice is on the outside before rolling with fillings inside, then seal. A sharp, damp knife helps you cut cleanly into bite-sized pieces without tearing the rolls.
If you’re aiming for consistency and speed, you’ll want to think about a few practical tips. Keep your hands damp when handling rice to prevent stickiness from slowing you down, and work with chilled fillings for a crisper bite. Temperature matters: rice should be warm enough to be pliable but not hot enough to dull the rice’s texture, and fish should be fresh and kept cold until right before assembly. Thin, even layers of rice improve the roll’s structure, and a light touch with a rolling motion prevents the fillings from squeezing out. Don’t worry about getting everything perfect on the first session; sushi making is about refinement, not a single flawless attempt.