Starter Kit for Content Creators Under $100
Article
2026-01-22 • 6 min read

Starter Kit for Content Creators Under $100

Starting out in content creation often feels like a leap of faith when you want to keep costs low but still deliver professional looking videos and posts. A well designed starter kit under a hundred dollars can cover essential needs for streaming, recording...

Starting out in content creation often feels like a leap of faith when you want to keep costs low but still deliver professional looking videos and posts. A well designed starter kit under a hundred dollars can cover essential needs for streaming, recording, editing, and publishing without forcing you to break the bank. The goal is simple: assemble a compact, reliable setup that improves your audio and lighting, streamlines your editing process, and gives you access to affordable or free tools that don’t compromise quality. Below is a practical path to building this kit, with real world options and comparisons across trusted retailers and software providers.

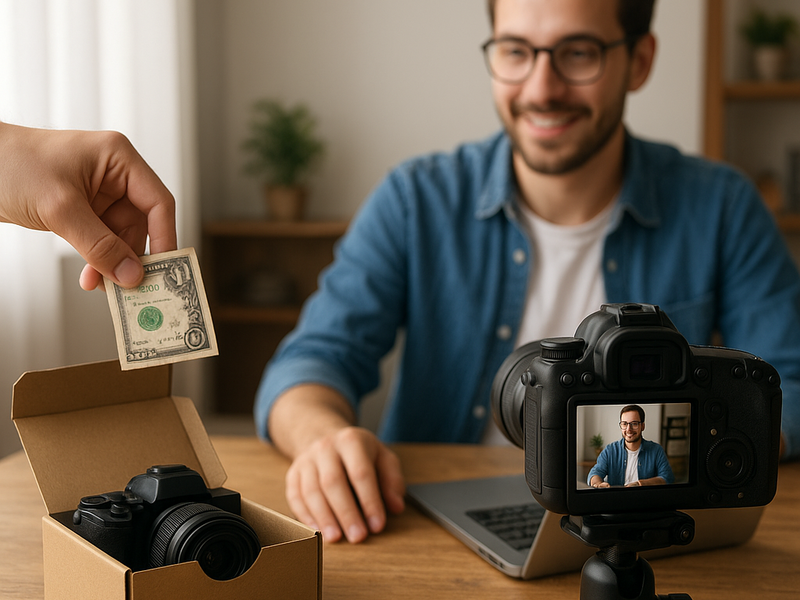
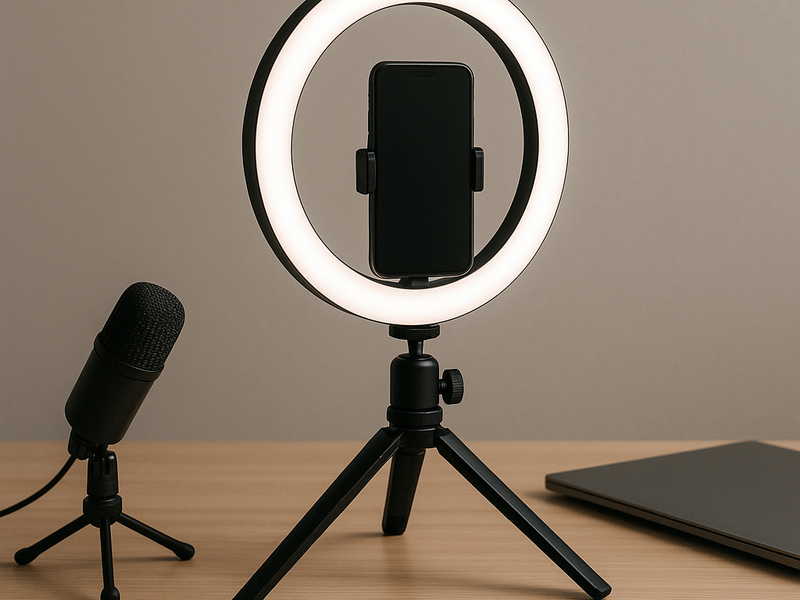
First, think of the core hardware you actually need. The heart of a budget friendly kit is your phone or camera as the primary recording device, a stable mount, a light source, and an audio capture solution. A basic setup might include a smartphone tripod or clamp mount, a small ring light or LED panel with adjustable brightness and color temperature, and a lavalier microphone or compact USB microphone that can plug directly into your device or computer. If you already own a phone with a decent camera, you can save money by upgrading only the accessories that will noticeably lift your image and sound quality. When choosing these items, prioritize compatibility and ease of use over sheer novelty.

Comparing top retailers helps you see where to buy these pieces with confidence. Amazon offers unparalleled breadth, often features customer reviews that shed light on real world performance, and typically ships quickly for Prime members. You can find budget lighting kits and entry level mics from multiple brands, and spare parts or mounts are plentiful. B&H Photo Video is revered by many creators for a specialized focus on audio and video gear, reliable product oversight, and detailed specs that help you pick the right ring light, microphone, or tripod for your space. Adorama is another solid option with robust bundles and frequent promotions that make it easier to stay under budget, especially if you catch a sale on a complete starter kit. Best Buy delivers the advantage of easy returns, in store pickup, and warranty options, which can be comforting if you’re new to equipment. Walmart and Newegg also play in this space with competitive prices, and they can be convenient for quick one off purchases or in combination with other shopping you do online. The right choice depends on what you value most—price, selection, warranties, or simply the convenience of your preferred shopping routine.

Hardware under the one hundred dollar mark is very doable when you pick components that complement each other. For lighting, a compact ring light with a mobile stand is usually enough to eliminate harsh shadows and give a flattering look to your face on camera. Look for adjustable brightness and a warm to cool color range to match different environments. For audio, a lavalier mic that plugs into your phone or camera is a cost effective upgrade from built in mics and can dramatically improve clarity for talking head videos or tutorials. A small desktop or travel tripod with a phone mount can stabilize shots and enable better framing, especially if you occasionally record seated at a desk or standing at a whiteboard. You don’t need to overspend on gear you’ll only use occasionally; the key is reliability and ease of setup.

Starter Kit for Content Creators Under $100

Once the hardware is in place, turn to software and affordable assets that can make your content feel polished without a heavy price tag. Free software and services play a major role in this budget bracket. For video editing and color correction, DaVinci Resolve offers a robust free version that can handle professional level editing on many systems. OBS Studio is the gold standard for live streaming and screen capture, and it is completely free. For audio editing, Audacity remains a simple yet powerful tool. For image editing and quick design tasks, GIMP and a basic photo editor handle most thumbnail and social post needs without cost. On the paid side, there are budget friendly licenses and subscriptions that are still under a hundred dollars per year. Filmora, for example, is a more accessible video editor with an upfront or annual license; it can be a good stepping stone from basic editors to more advanced workflows. Canva offers a free tier and affordable paid options for creating thumbnails, overlays, and social graphics, with the practical advantage of a library of templates and assets, though it’s wise to monitor pricing and usage to keep the total under budget. For stock media, free platforms like Pexels, Unsplash, and Pixabay provide photos and clips with permissive licenses, which can meet many starter needs. If you do decide to invest in paid stock or templates, look for bundles or annual licenses that cover both media and some design templates; just ensure the total stays under your limit.

Explain how you would actually use these tools to build a workflow. Start with your recording: ensure your space has a quiet background, place your ring light at a slight angle to illuminate your face, and position your phone or camera at eye level using the tripod. Record a short test clip to check lighting, color balance, and audio. If you are using a lavalier mic, clip it unobtrusively to minimize clothing rustle and test again. When you’re satisfied, record the main take, and then move to editing. Import your footage into your chosen editor, perform a quick rough cut to remove mistakes, then adjust exposure and white balance to achieve consistent look. Add a simple lower third with your name or handle, drop in a subtle background music if permissible, and render a final version suited for your primary platform. If you want to include captions for accessibility, a basic auto-caption feature in your editor or a free online tool can save time. Finally, save the project file and export a version optimized for your target channel, considering file size and codec.

Finding the right balance between hardware and software investments is essential. The rule of thumb is to allocate most of your budget toward the elements that create the most noticeable impact on your content’s first impression: lighting, audio, and editing workflow. Your results improve when you keep the setup simple, reliable, and scalable. Over time you can add a better microphone, a small audio mixer for more complex setups, a larger backdrop, or an additional camera angle. But the beauty of a starter kit under a hundred dollars is that you begin with a practical baseline that produces quality outputs while you learn your preferred style and audience preferences.

As you grow, you’ll discover which purchases yield the biggest returns. You might start with a ring light and a lav mic on a budget, then add a second camera or upgraded editing software as your content demands increase. The most important thing is to begin, remain consistent, and continuously refine your technique. With a disciplined approach, this modest starter kit can become the foundation for a recognizable personal brand across video, live streams, and social media.

← Back to all articles