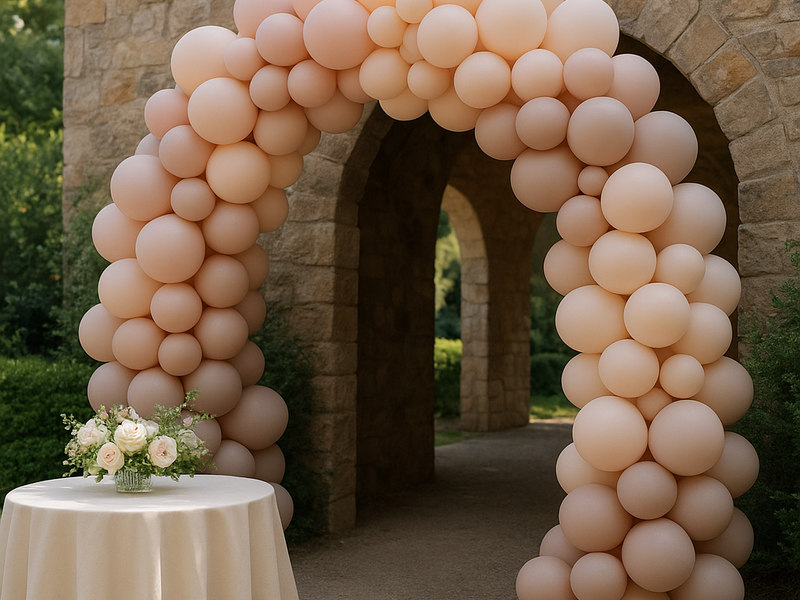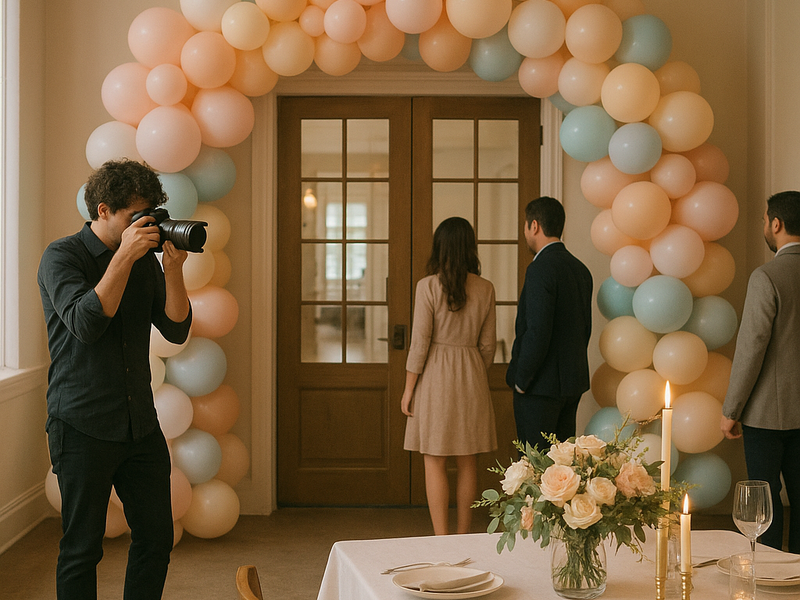
Balloon arches have become a staple in celebrations, offering instant color, shape, and a sense of celebration. They can be the hero of a party entrance, a backdrop for photos, or a charming frame for a dessert table. The best part is that they can be assembled from simple materials and adapted to any theme, from pastel childrens parties to glamorous weddings. The approach can be entirely DIY, or you can recruit a professional service to design and install a showpiece for you. Either way, understanding the options and the best practices will help you achieve a polished result that feels cohesive with the rest of the décor.
Planning is the first step. Start by defining the size and location of the arch. Is it meant to frame a doorway, create a stage backdrop, or greet guests as they enter a venue? Measure the space and consider the ceiling height, doorway width, and floor area where the arch will stand. Decide on a color palette that matches the event theme. Soft pastels work beautifully for weddings and baby showers, bold primaries suit children’s parties, and metallics add drama to evening affairs. The mood will guide your balloon choices, balloon sizes, and the type of arch you will build. You can go with a free standing arch constructed from a frame, or you can wire a garland to a wall for a slimmer profile. If you’re renting gear or buying a kit, check the product specs to ensure it matches your space.
Materials matter, and you have options. A traditional free standing arch uses a frame or pipe rail that is anchored on weighted bases or mounted to a stand. You inflate balloons with a hand pump or an electric pump, and you may mix different balloon sizes to create depth and texture. To fill gaps and create a lush look, you’ll cluster balloons in threes or fours and attach them to the frame with balloon glue dots, fishing line, or balloon arch tape. Some kits come with pre threaded garland strands that simplify the process; others require you to assemble clusters and attach them along the frame yourself. If you prefer a more natural organic look, you can incorporate larger statement balloons as focal points and fill in with smaller ones. Don’t forget accessories like curling ribbon for tassels, greenery or faux florals for a natural touch, and a sturdy anchor system to keep the arch stable on carpet, wood, or tile.
How to build it step by step. Begin by choosing the arch type and sizing based on the space. If you are using a premade kit, follow the included instructions for frame assembly. For a DIY frame, you can use a lightweight metal arch or a PVC pipe structure wired or taped together. Inflate balloons to a range of sizes; variety adds visual interest. Create clusters by tying two or three balloons together with a short length of ribbon or using a balloon clip. Start attaching near one end of the frame and work your way across, placing clusters at regular intervals. Alternate the sizes and color placements so the arch feels balanced rather than uniform. Move slowly and step back frequently to evaluate spacing and color saturation. When you reach the far end, secure the final clusters and check the entire arch for any loose ties or fragile points. If using a wall mounted approach, rely on adhesive hooks or a slim mounting strip, and ensure the weight is distributed to avoid pulling the wall decoration away from its surface. Finally, position the arch in its intended location, add any finishing touches like greenery or metallic ribbons, and place balloons at the base to soften the silhouette and hide the stand.